This is a step by step guide to help a friend that is looking for a quick and inexpensive way to upload/migrate his small on-prem SQL Server databases onto Azure cloud without having to use complex tools.
Note: This will work on SQL Server 2012 or above with internet connectivity.
SUMMARY:
- Create Azure account with a valid subscription
- Create Resource Group
- Create Storage Account
- Create Blob Container
- Copy Access Key of Storage Account
- Connect to On-Prem Server
- Create Credential with Secret access key
- Backup to URL with Credential, Restore with Credential and Delete files.
- READ and follow instructions!
- If you get lost, revert to special forces rule #3 If you get lost, look cool. Just kidding, in this case ask questions!
Log in with your account. I will use hiramfleitas@gmail.com to setup a new trial first. Otherwise skip ahead.

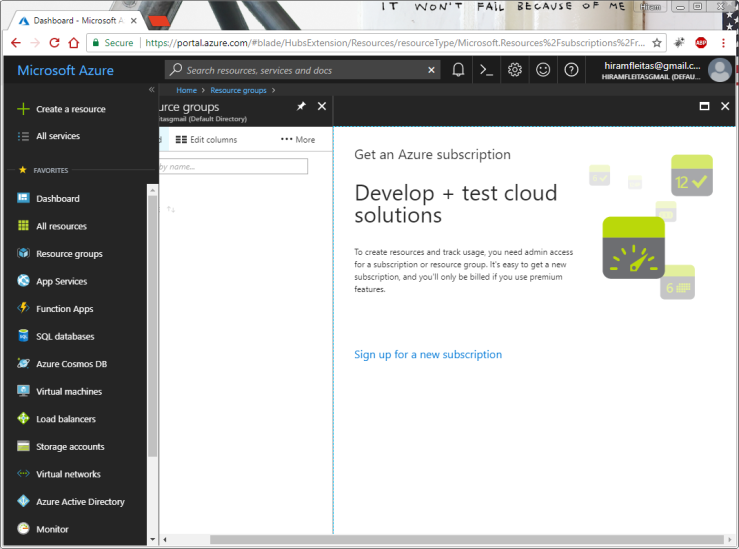
Click Resource Groups, Click on the + (Plus) to Add.

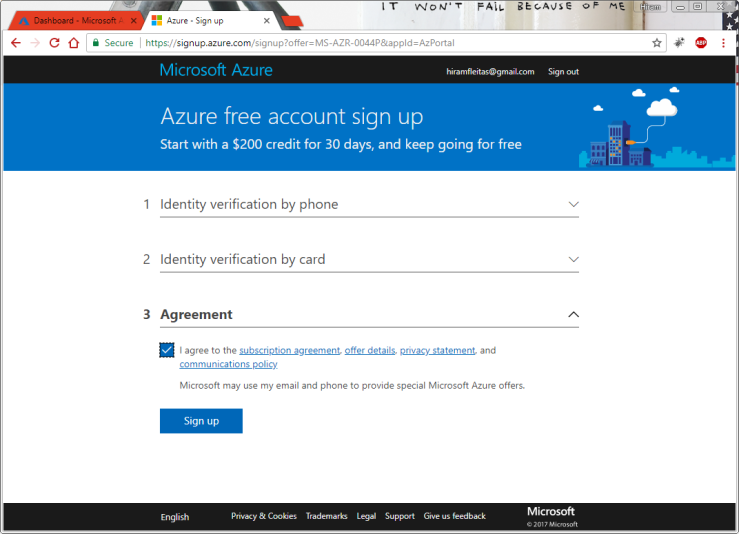
Click Sign up for a new subscription.
Enter your phone number, click Text me.

Enter your Microsoft Azure verification code, click Verify Code.
VERY IMPORTANT: A Credit Card is required for authentication/verification ONLY, it will not be billed you unless you convert from Trial to a Pay-As-You-Go Account.
I clicked Change payment method to enter a New Credit Card.

Provide your credit card information, click Next.

Read the agreements if you want to then Click Sign up.
Go back to http://portal.azure.com
Login, proceed to your trial subscription.
Click Notifications.

Click Resource groups, Click Create resource group.

Enter a Resource group name. Select Subscription and Resource group location.
In my case I will use:
Resource group name: Hiram-RG1
Subscription: Free Trial
Resource group location: East US 2
Click Create.
This should be instant.

Click Go to resource group.

Click Create resources.
Type storage account, hit enter. Click Storage account – blob, file, table, queue.

Click Create.

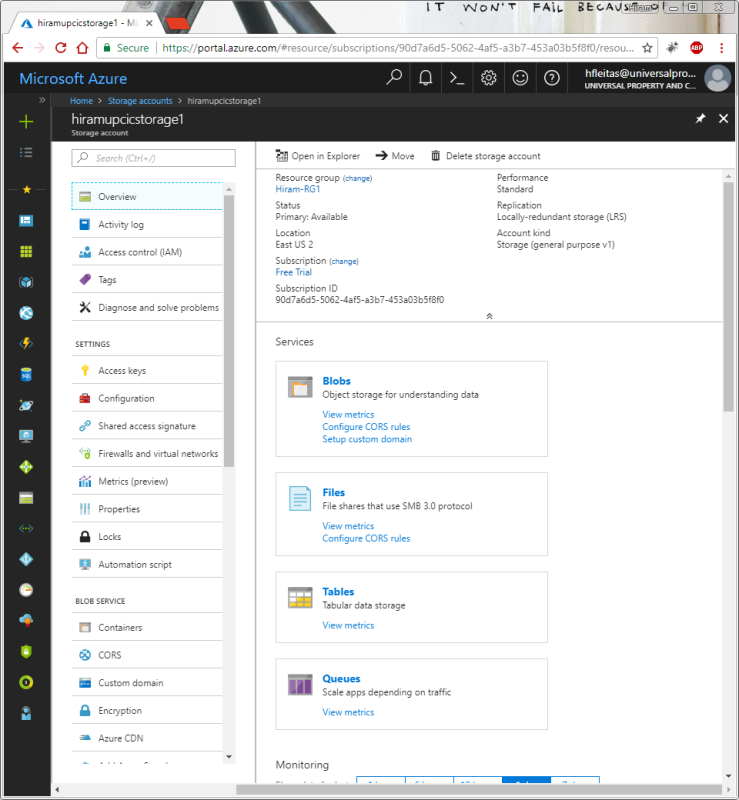
Enter a name. Select Deployment model, Account kind, Performance, Replication, Secure transfer required, Subscription, Resource group, Location.
In my case I will use:
Name: hiramupcicstorage1
Deployment model: Resource manager
Account kind: Storage (general purpose v1) (default)
Performance: Standard (default)
Replication: Locally-redundant storage (LRS) (least expensive and suffice for me)
Secure transfer required: Disabled (default, I will always use https anyways)
Subscription: Free Trial (I don’t have any other for now)
Resource group location: Use existing, East US 2 (same location as Hiram-RG1 obviously)
Click Create.
This could take a minute, you may want to have a bathroom, coffee break or standby.
It will say Deployment in progress…
Click Storage accounts

Click Refresh

Click the Storage account name (in my case: hiramupcicstorage1)

VERY IMPORTANT: Click Blobs.
Click + (Add) Container

Enter a name, select the Public access level.
In my case I will use:
Name: uploads
Public access level: Private (no anonymous access) (default)
Note, you can easily edit this Access Policy by clicking the ellipses Context Menu later next to the Container Name.
Click OK. This will be instant.

Click the […] ellipses Context Menu, click Container Properties.

Click to copy the URL. We will use this URL later in our SSMS Maintenance Plan or T-SQL Script.

Click Storage accounts, click the Storage account name again.

VERY IMPORTANT: Click Access keys, Click to copy either key.
It doesn’t matter that you see my keys. I will regenerate them after this demo – making them immediately invalid and not recoverable.
However, I need you to see this for you to understand the purpose of it in the T-SQL script later.

Open SSMS and connect to your source SQL Server (on-prem) that you want to upload/migrate its data to Azure cloud.
I am using SSMS 17.5 (the update just came out 2/15/2018) and SQL Server 2017 Developer Edition on my local laptop with Windows 10 for the purpose of this demo. Again, this will work on SQL Server 2012 or above.
The following T-SQL Script accomplishes the following.
- Create the credential. Yes, names must match. Yes, key secret must match.
- Backup to URL. Yes, use HTTPS. Yes, uploads is the name of the container. Yes, this is a blob, not a file container. Yes, you can do this in a maintenance plan or SSIS package. Yes, you can also use backup with encryption algorithm and server certificate – in fact, I recommend you do this if your edition supports it. Yes, you can do this for Tlogs ie. Log Shipping to keep your data in sync till you’re ready to migrate; however, it may add up $$$$ fast, instead I recommend measure how long it takes for your full backup to upload and make a determination.
- Use the lower portion for your destination SQL Server, whether that’s an Azure VM, SQL Database, DWH or another remote/on-prem server.
- Restore verify will confirm you can read the file and its header. The target server must not be in a lower version – duh! Yes, you can restore with move to remap your mdf/ldf files onto another container (yup, you guessed it https…) or another folder structure.
See References:
- https://docs.microsoft.com/en-us/sql/relational-databases/backup-restore/sql-server-backup-to-url#PITR
- https://docs.microsoft.com/en-us/sql/t-sql/statements/restore-statements-transact-sql#Azure_Blob
Run the script according to your needs. See script here: https://github.com/hfleitas/EFGetStarted.AspNetCore.ExistingDb/blob/master/EFGetStarted.AspNetCore.ExistingDb/Database/BackupToAzure.sql
If you want to see files in the container here’s two simple ways.
- Click Connect, Azure Storage…
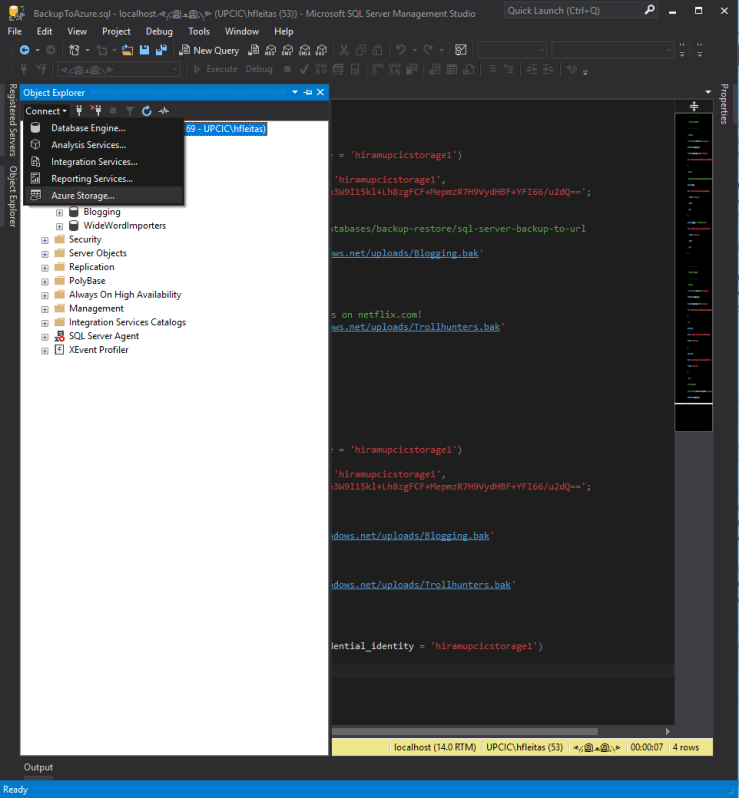
Enter the Storage account name and secret access key (same one as used in script), click Connect.

Expand Container, and there you go!
You can right-click them, and Delete if you want to.

2nd method via the portal, go to the blob container. I highly recommend you familiarize yourself doing it via PowerShell.
Reference:
- https://docs.microsoft.com/en-us/powershell/module/azure.storage/remove-azurestorageblob?view=azurermps-5.3.0
- https://docs.microsoft.com/en-us/powershell/azure/servicemanagement/install-azure-ps?view=azuresmps-4.0.0

That completes this demo
Congratulations for making it this far.
Thx,
Hiram
